In this article you will find out how to register an account, you will learn to take your first steps in the Ampio Cloud and you will gain greater control over your installation.
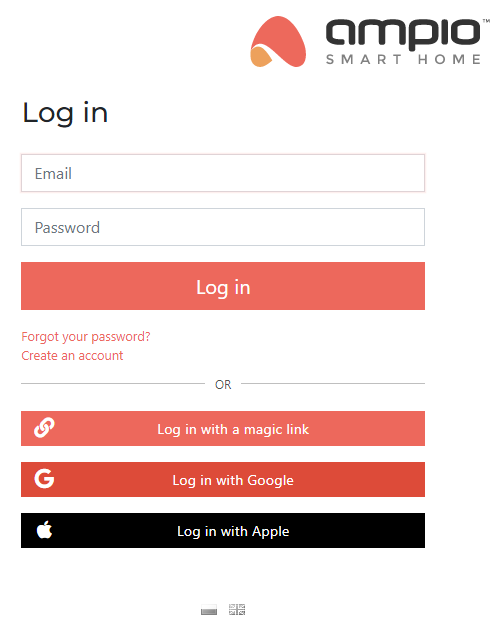
When you visit cloud.ampio.com for the first time, you will have to create an account.
 Click to enlarge and open in a new tab.
You can do that using a form to Create a new account, or use one of the these options:
Log in with Google
You can get access to the Cloud by signing into your Google account.
Log in with Apple
Apart from the Google account, you can also log into the Cloud with an Apple ID.
If you already have an account, in addition to the standard log in, we can log in without a password using:
Log in with a magic link
After providing your email address, you will receive a message with a link to log in.
 Click to enlarge and open in a new tab.
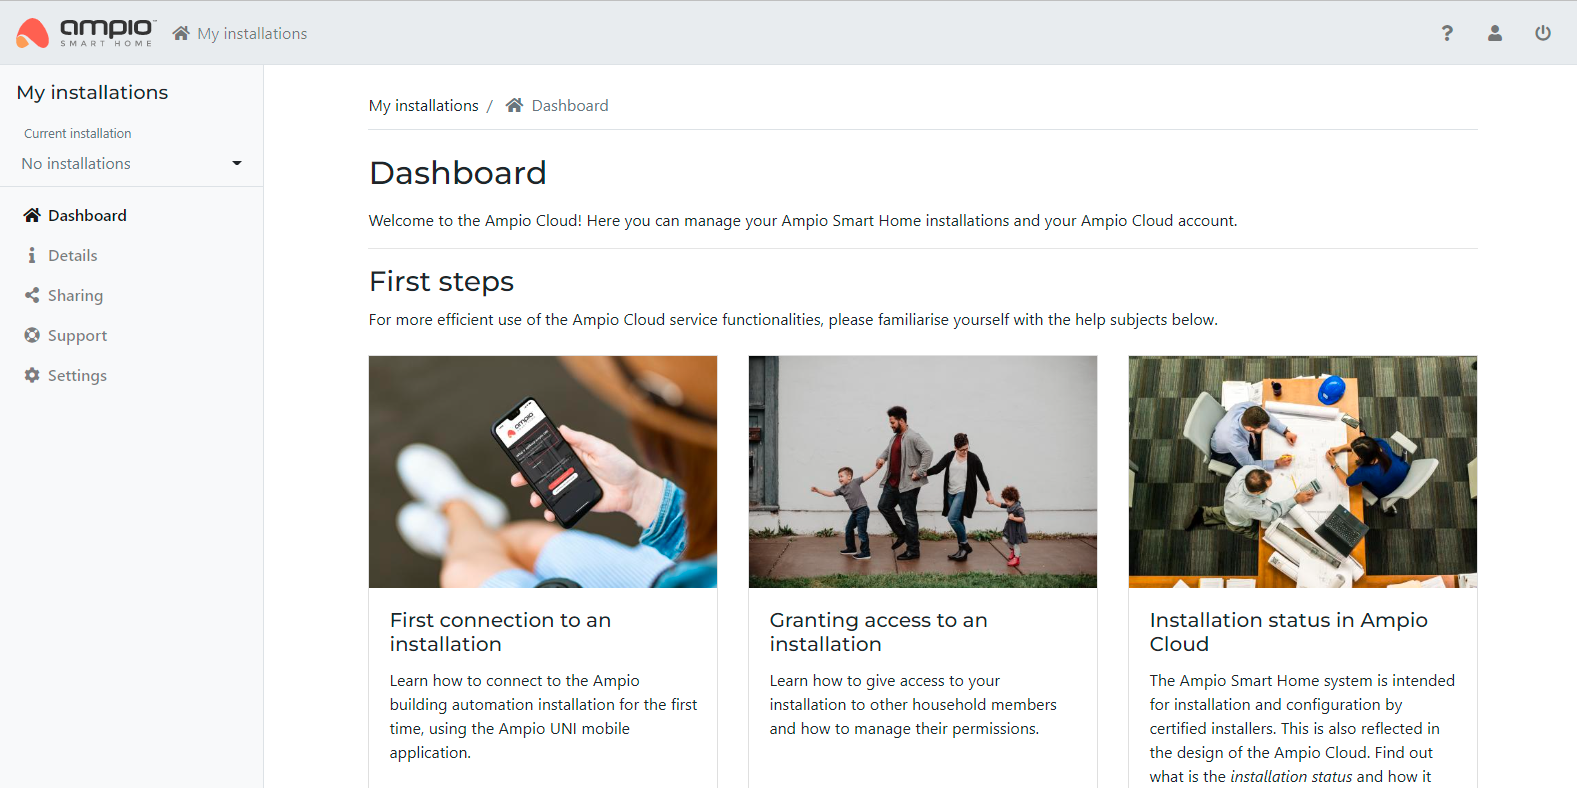
In the beginning you will not have any installation added to your account. It is a good time to read the articles shown on the dashboard.
Reading the articles will explain the process of adding installations, all aspects of managing the installations and granting guest or installer access to the installations.
 Click to enlarge and open in a new tab.
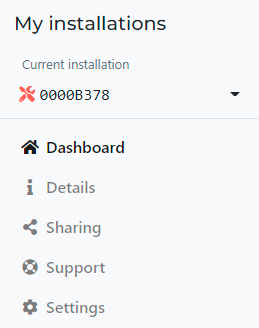
Here, the drop-down menu will let you choose which installation you would like to manage currently, or it will let you enter the folder with all installations. Normally, one user would have only one installation and it will always be marked as current.
You are already familiar with this tab - it’s a starting screen which welcomes you after logging in.
As the name suggests, here you will find all the information about your installation and you will be able to check its current status. Visit this tab to find out any installation details.
In one of the articles that is displayed on the dashboard, you can find guidelines about how to share an installation. In the Sharing tab you can also see all the sent invitations and the invitations that have not yet been accepted.
This tab allows you to check what installers are linked to your installation, to browse the access granting history, and to request remote support from an installer by providing his/her email address. Such remote access will be granted for 24 hours after accepting the invitation by the chosen installer. During this time, the installer will be able to log into your installation.
The Settings section comprises of 3 functions: here you can edit the name of your installation, as an installation owner you can mark the installation as completed, reverse its status to development, or abandon the installation, if you do not use it anymore.
If your account has installer permissions, an additional tab will be available in the top bar, which will allow you to access the installer zone.
 Click to enlarge and open in a new tab.
You will find the most important announcements aimed at installers here. All installations that you have permissions to and files for downloading, such as:
In the installer zone, you can submit a warranty claim and find all the claims ever submitted from your account. At the bottom of the menu on the left, there are links that will let you quickly access our other web services.